Here’s a question I get asked all the time: “What analytics tools do I actually need?” And here’s my answer every single time — you need exactly three tools, and they’ll cost you exactly $0 per month.
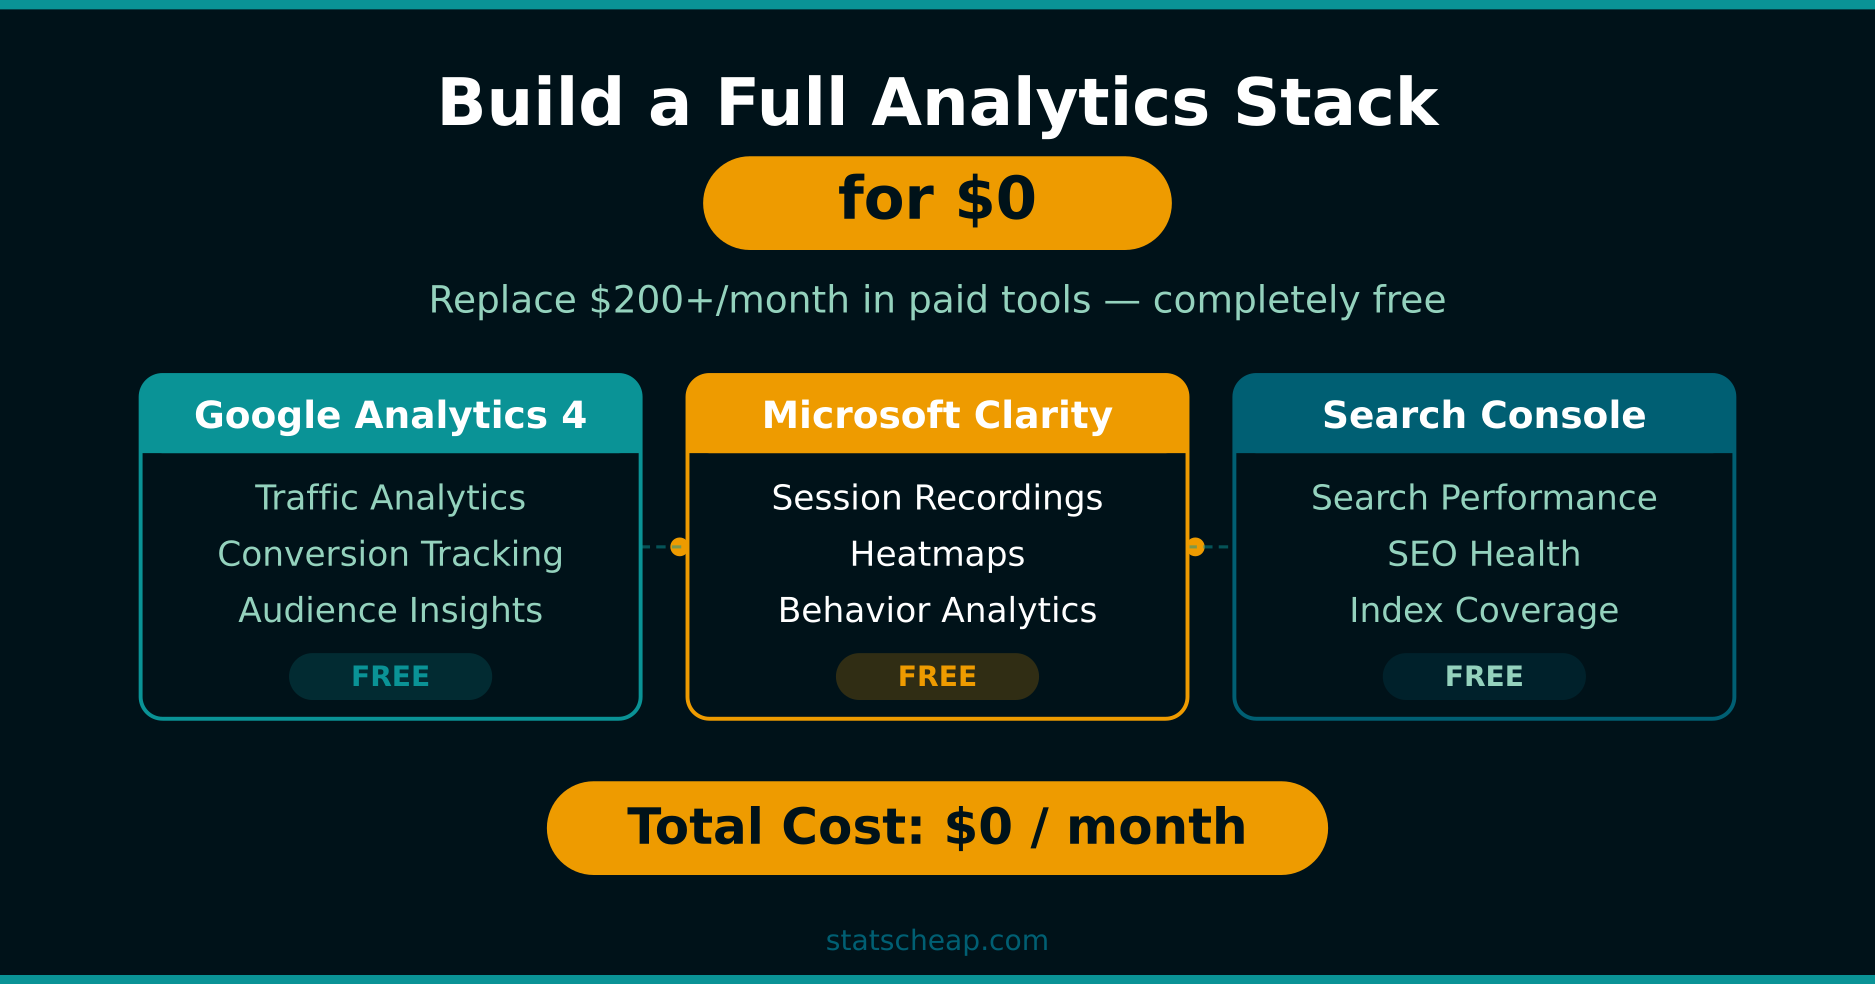
Google Analytics 4 for traffic and conversions. Microsoft Clarity for heatmaps and session recordings. Google Search Console for SEO data. Together, they give you everything a small business needs — the same insights that companies pay $150-200+ per month to get from tools like Mixpanel, Hotjar, and Ahrefs.
I’ve been running this exact free analytics stack on every site I manage, and it takes about 15 minutes to set up from scratch. In this guide, I’ll walk you through the complete setup — step by step, with zero fluff, zero cost. Let’s do the math and build your stack.
Why These Three Tools? What Each One Covers
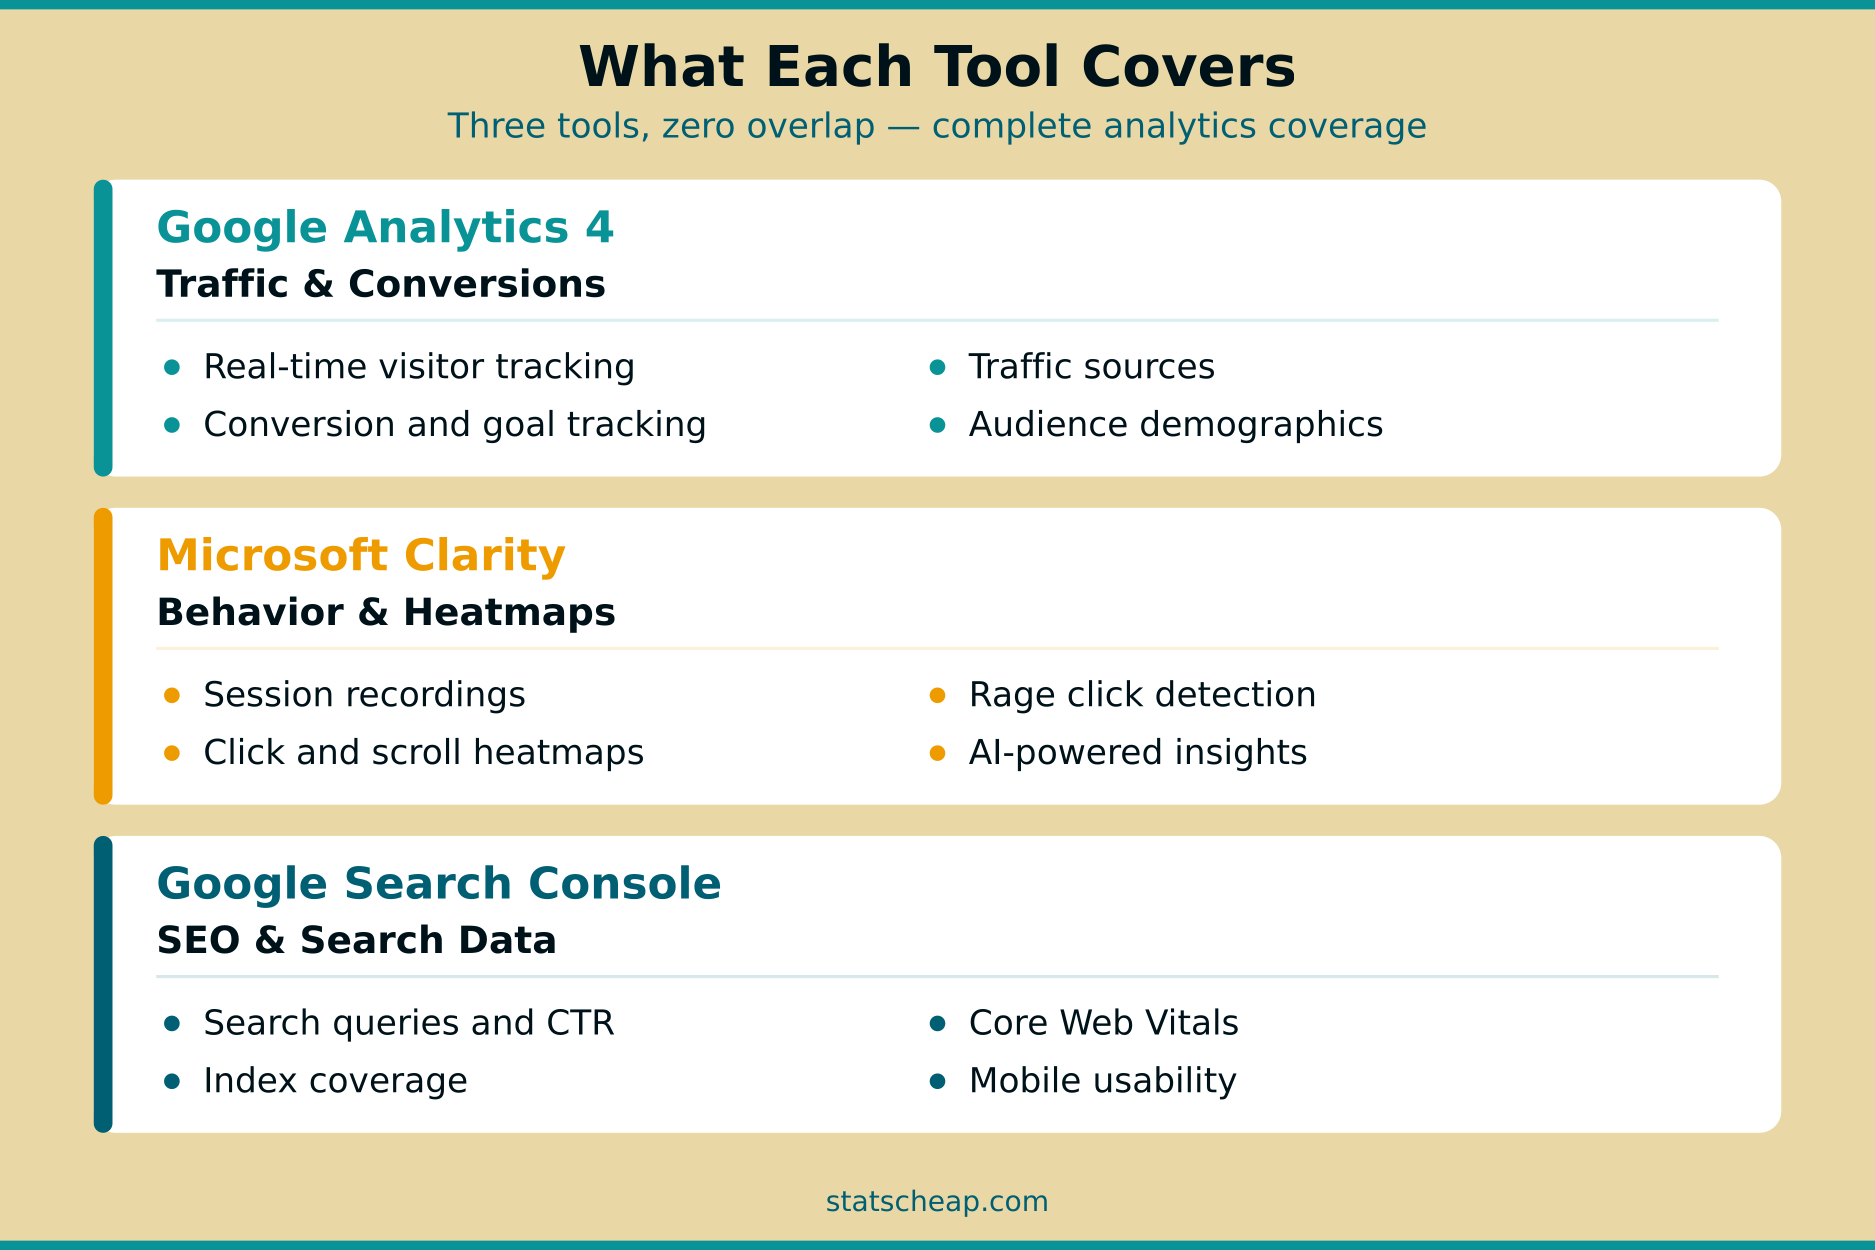
The reason this specific combination works so well is that each tool covers a completely different layer of analytics. There’s almost no overlap — they complement each other perfectly.
Google Analytics 4 answers the “what” questions. What pages do people visit? What traffic sources work? What percentage of visitors convert? It’s your quantitative foundation — the numbers, the trends, the big picture. GA4 tracks page views, sessions, user demographics, traffic channels, conversions, e-commerce events, and more. It’s the most widely-used analytics platform on the planet, and the free tier has no traffic limits.
Microsoft Clarity answers the “how” questions. How do visitors actually interact with your pages? Where do they click? How far do they scroll? Where do they get frustrated? Clarity gives you unlimited heatmaps, unlimited session recordings, and AI-powered behavior insights — all for free. No traffic caps, no daily session limits. This is the tool that shows you why your numbers look the way they do.
Google Search Console answers the “where from” questions — specifically from search. Which keywords bring visitors to your site? What’s your average position in Google? Which pages are indexed? Are there any crawl errors? This is data that no other free tool can give you, because it comes directly from Google’s search infrastructure.
Together, you get three layers: quantitative data (GA4) + qualitative behavior (Clarity) + search performance (Search Console). That’s a complete analytics stack.
What You’ll Need Before Starting
Before we dive into setup, make sure you have these basics ready:
- A Google account — for both GA4 and Search Console (same account works for both)
- A Microsoft account — for Clarity (you can create one for free in 30 seconds)
- Access to your website’s HTML — you’ll need to add tracking scripts. If you use WordPress, Shopify, Wix, or Squarespace, there are built-in options or plugins to do this without touching code
- 15 minutes of your time — that’s genuinely all it takes for all three tools
Total cost for everything above: $0. Now let’s build your stack.

Step 1: Set Up Google Analytics 4 (5 Minutes)
GA4 is your foundation — install this first, because both Clarity and Search Console can integrate with it later.
Create your GA4 property
- Go to analytics.google.com and sign in with your Google account
- Click Start measuring (or Admin → Create → Property if you already have an account)
- Enter your property name (your site name works fine), select your time zone and currency
- Choose your business category and size — these are just for Google’s recommendations, they don’t affect your data
- Select Web as your platform, enter your website URL, and name your data stream
Add the tracking code to your site
After creating your data stream, GA4 gives you a Measurement ID (starts with G-) and a tracking snippet. You have several options to install it:
- WordPress: Use the free Site Kit by Google plugin, or paste the snippet into your theme’s
<head>section - Shopify: Go to Online Store → Preferences → Google Analytics, paste your Measurement ID
- Any other site: Paste the gtag.js snippet right before the closing
</head>tag on every page
Quick configuration tips
Once installed, do these three things right away:
- Extend data retention: Go to Admin → Data Settings → Data Retention → change from 2 months to 14 months (the maximum on the free plan)
- Enable Google Signals: Admin → Data Settings → Data Collection → toggle on Google Signals for cross-device tracking
- Filter out your own traffic: Admin → Data Streams → your stream → Configure Tag Settings → Define Internal Traffic. Add your IP address so your visits don’t skew the data
That’s it for GA4. Data starts flowing within minutes — though it typically takes 24-48 hours for reports to fully populate.
Bonus: GA4’s Enhanced Measurement feature (enabled by default) automatically tracks page views, scrolls, outbound clicks, site searches, file downloads, and YouTube video engagement — without any extra code. That’s six types of user behavior tracked for free, out of the box.
Step 2: Add Microsoft Clarity (3 Minutes)
Clarity is the fastest tool to set up on this list. Three minutes is generous — most people finish in under two.
Create your Clarity project
- Go to clarity.microsoft.com and sign in (Microsoft, Google, or Facebook account)
- Click Add new project, enter your site name and URL
- Choose your installation method — Clarity gives you a small JavaScript snippet to add to your site
Install the tracking code
- WordPress: Install the official Microsoft Clarity plugin — just activate and connect your account. No code needed
- Shopify: Clarity has a native Shopify integration — add it from the Shopify App Store
- Any other site: Paste the tracking snippet into your
<head>section, just like GA4
Connect Clarity to GA4 (recommended)
This is the step most people skip — and they shouldn’t. In Clarity’s Settings → Setup → Google Analytics Integration, connect your GA4 property. This lets you see GA4 metrics directly inside Clarity’s dashboard and filter session recordings by GA4 dimensions. For instance, you could watch recordings from visitors who came from a specific campaign or who triggered a specific conversion event. It’s incredibly powerful, and it’s free.
Clarity starts recording sessions immediately after installation. You’ll see your first heatmaps and recordings within minutes.
Important for EU visitors: As of October 2025, Microsoft requires explicit consent signals for sessions from the EEA, UK, and Switzerland. If you have European visitors, you’ll need a cookie consent banner that blocks Clarity’s script until the user agrees. Most free consent plugins (like CookieYes or Complianz) handle this automatically.
Step 3: Connect Google Search Console (5 Minutes)
Search Console is slightly different from GA4 and Clarity — instead of adding a tracking script, you verify that you own the site. Google then starts showing you search data automatically.
Verify your site
- Go to search.google.com/search-console and sign in with the same Google account you used for GA4
- Click Add Property and choose URL prefix (enter your full URL including https://)
- Since you already have GA4 installed, Google will automatically verify ownership through your analytics tag — no extra work needed
- If auto-verification doesn’t work, use the HTML tag method: add a meta tag to your
<head>section
Link Search Console to GA4
This is crucial — linking the two tools lets you see search query data directly inside your GA4 reports. Here’s how:
- In GA4, go to Admin → Product Links → Search Console Links
- Click Link, select your Search Console property
- Choose the web data stream to connect, then confirm
Once linked, there’s one more step most people miss: you need to publish the Search Console report collection in GA4. Go to Reports → Library, find the “Search Console” collection, and click “Publish.” Without this step, the reports won’t appear in your left sidebar even though the data is flowing. After publishing, you’ll find new reports under Reports → Search Console — showing queries, landing pages, click-through rates, and average search positions. This is the same keyword data that SEO professionals pay $99-129/month to get from tools like Ahrefs or SEMrush — except you’re getting it from the source, for free.
Submit your sitemap
While you’re in Search Console, go to Sitemaps in the left menu and submit your sitemap URL. For most sites, it’s https://yourdomain.com/sitemap.xml. For WordPress sites with Yoast SEO, it’s https://yourdomain.com/sitemap_index.xml. This helps Google discover and index your pages faster.
Important: Search Console data has a 2-3 day delay. Don’t panic if you don’t see data immediately — it takes a few days for initial data to appear, and the platform works best after a couple of weeks of data collection.
Step 4: Verify Everything Works
After setting up all three tools, do a quick sanity check. Open your website in a browser and verify each tool is collecting data:
- GA4: Go to Reports → Realtime. You should see yourself as an active user (unless you filtered your IP). If nothing shows up, check that your tracking code is in the
<head>section and that it loads before the page content - Clarity: Open your Clarity dashboard. Within 5-10 minutes of installation, you should see your first session recording. Click on it to watch your own visit
- Search Console: Check the URL Inspection tool — enter your homepage URL and click “Test Live URL.” You should see “URL is available to Google”
If all three check out, congratulations — your free analytics stack is live. Total setup time: about 15 minutes. Total cost: $0.
What This Free Analytics Stack Replaces
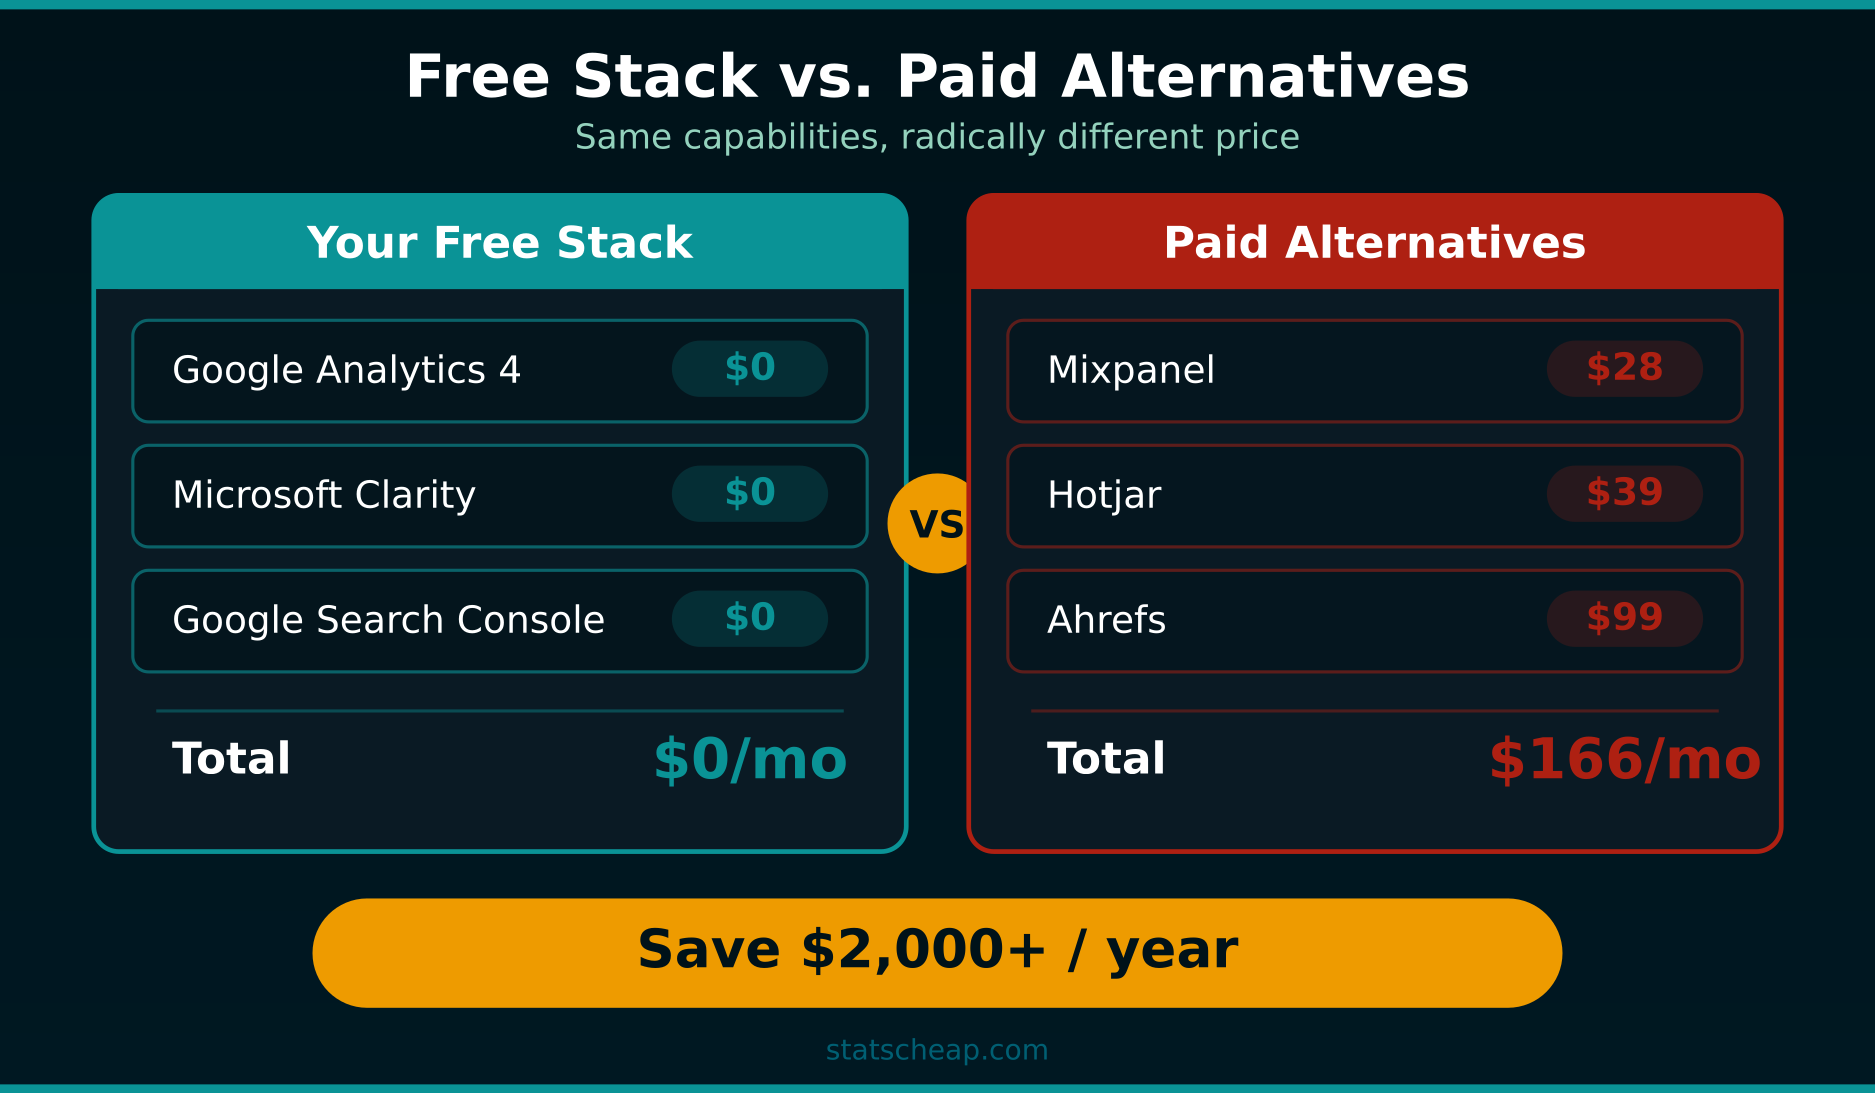
Let’s do the math. Here’s what you’d pay for equivalent functionality using popular paid alternatives:
| What You Get Free | Paid Alternative | Monthly Cost |
|---|---|---|
| GA4 — traffic, conversions, audiences | Mixpanel / Amplitude | $28-49/mo |
| Clarity — heatmaps, recordings, AI insights | Hotjar / FullStory | $39-199/mo |
| Search Console — keyword data, search performance | Ahrefs / SEMrush | $99-129/mo |
| Your total with free stack | $0/mo | |
| Equivalent paid stack | $166-377/mo | |
That’s $2,000 to $4,500 per year in savings. For a small business or solo site owner, that’s money you can put toward content, advertising, or simply keeping your business running.
Now, I’ll be honest — the paid tools do offer features that the free stack doesn’t. Hotjar includes surveys and feedback widgets. Ahrefs gives you competitor keyword analysis and backlink data. Mixpanel offers advanced cohort analysis. However, for most small businesses with under 50,000 monthly visits, the free stack covers 90% of what you actually need to make smart decisions.
How to Get the Most From Your Free Analytics Stack
Having the tools installed is step one. Using them effectively is where the real value comes in. Here are practical tips for each tool:
GA4: Focus on conversions, not vanity metrics
Set up at least one conversion event — a contact form submission, a purchase, a newsletter signup. Go to Admin → Events, find the event you want, and toggle “Mark as conversion.” Without this, you’re just looking at traffic numbers that don’t tell you whether your site is actually working. Also, check the Landing Page report weekly — it shows which pages bring in the most engaged visitors, which directly tells you what content to create more of.
Clarity: Watch session recordings when something looks off
Don’t try to watch every recording — that’s a rabbit hole. Instead, use Clarity’s smart filters: look at sessions with rage clicks (users clicking repeatedly in frustration), dead clicks (clicks that do nothing), or excessive scrolling. These sessions tell you exactly where your site is confusing visitors. Furthermore, use the Copilot feature — Clarity’s built-in AI assistant. You can ask it questions in plain English like “What JavaScript errors are affecting my checkout page?” or “Are mobile users reaching my call-to-action?” It analyzes your sessions and gives you actionable suggestions without you watching a single recording.
Search Console: Check your queries weekly
Go to Performance → Search Results and sort by impressions. Look for queries where you get lots of impressions but few clicks — these are opportunities to improve your title tags and meta descriptions. Also look for queries where your average position is 8-20 — you’re almost on page one, and a small content improvement could push you up. This is free SEO intelligence that would cost you $99/month with a tool like Ahrefs.
Common Mistakes to Avoid
After helping dozens of small businesses set up their analytics, I see the same mistakes repeatedly. Here’s what to watch out for:
- Not filtering internal traffic in GA4. If you visit your own site daily, you’re inflating your numbers. Set up that IP filter in the first session — it takes 30 seconds
- Forgetting to extend GA4 data retention. The default is just 2 months. Change it to 14 months immediately — otherwise you lose historical data permanently
- Not linking Search Console to GA4. These tools work dramatically better together. Without the link, you’re missing the search query dimension in your GA4 reports
- Checking data too early. GA4 needs 24-48 hours to process data. Search Console needs 2-3 days. Give your tools time before concluding something is broken
- Installing multiple analytics scripts that do the same thing. If you’re using this free stack, you don’t also need Matomo or Plausible running simultaneously. More scripts = slower site = worse user experience
Frequently Asked Questions
Will these three tracking scripts slow down my website?
Barely. GA4’s gtag.js is about 28 KB, Clarity’s script is around 15 KB, and Search Console doesn’t add any script at all (it uses server-side verification). The combined impact is roughly 43 KB of asynchronously loaded JavaScript — far less than a single stock photo. Most websites won’t see any measurable performance difference.
Do I need a cookie consent banner for this stack?
If you have visitors from the EU, yes. Both GA4 and Clarity use cookies. Search Console doesn’t affect your visitors at all. For a simple, free consent solution, look at cookie consent plugins for your platform — or consider cookie-free alternatives like Umami or Plausible if EU compliance is your top priority.
Can I add more free tools to this stack later?
Absolutely. This three-tool stack is a foundation. As your needs grow, you might add PostHog for product analytics or Cloudflare Web Analytics for a privacy-friendly traffic overview. However, start with these three — they’ll serve you well for months or even years before you need anything else.
What’s the catch? Why is all this free?
Google uses GA4 and Search Console data (in aggregated form) to improve its advertising and search products. Microsoft uses anonymized Clarity data to improve its products. In other words, you’re paying with data rather than dollars. For most small businesses, this is a perfectly acceptable trade-off — but if data privacy is your top concern, consider self-hosted alternatives instead.
Key Takeaways
- Three tools, zero dollars: GA4 + Clarity + Search Console gives you traffic data, behavior insights, and SEO performance — all free
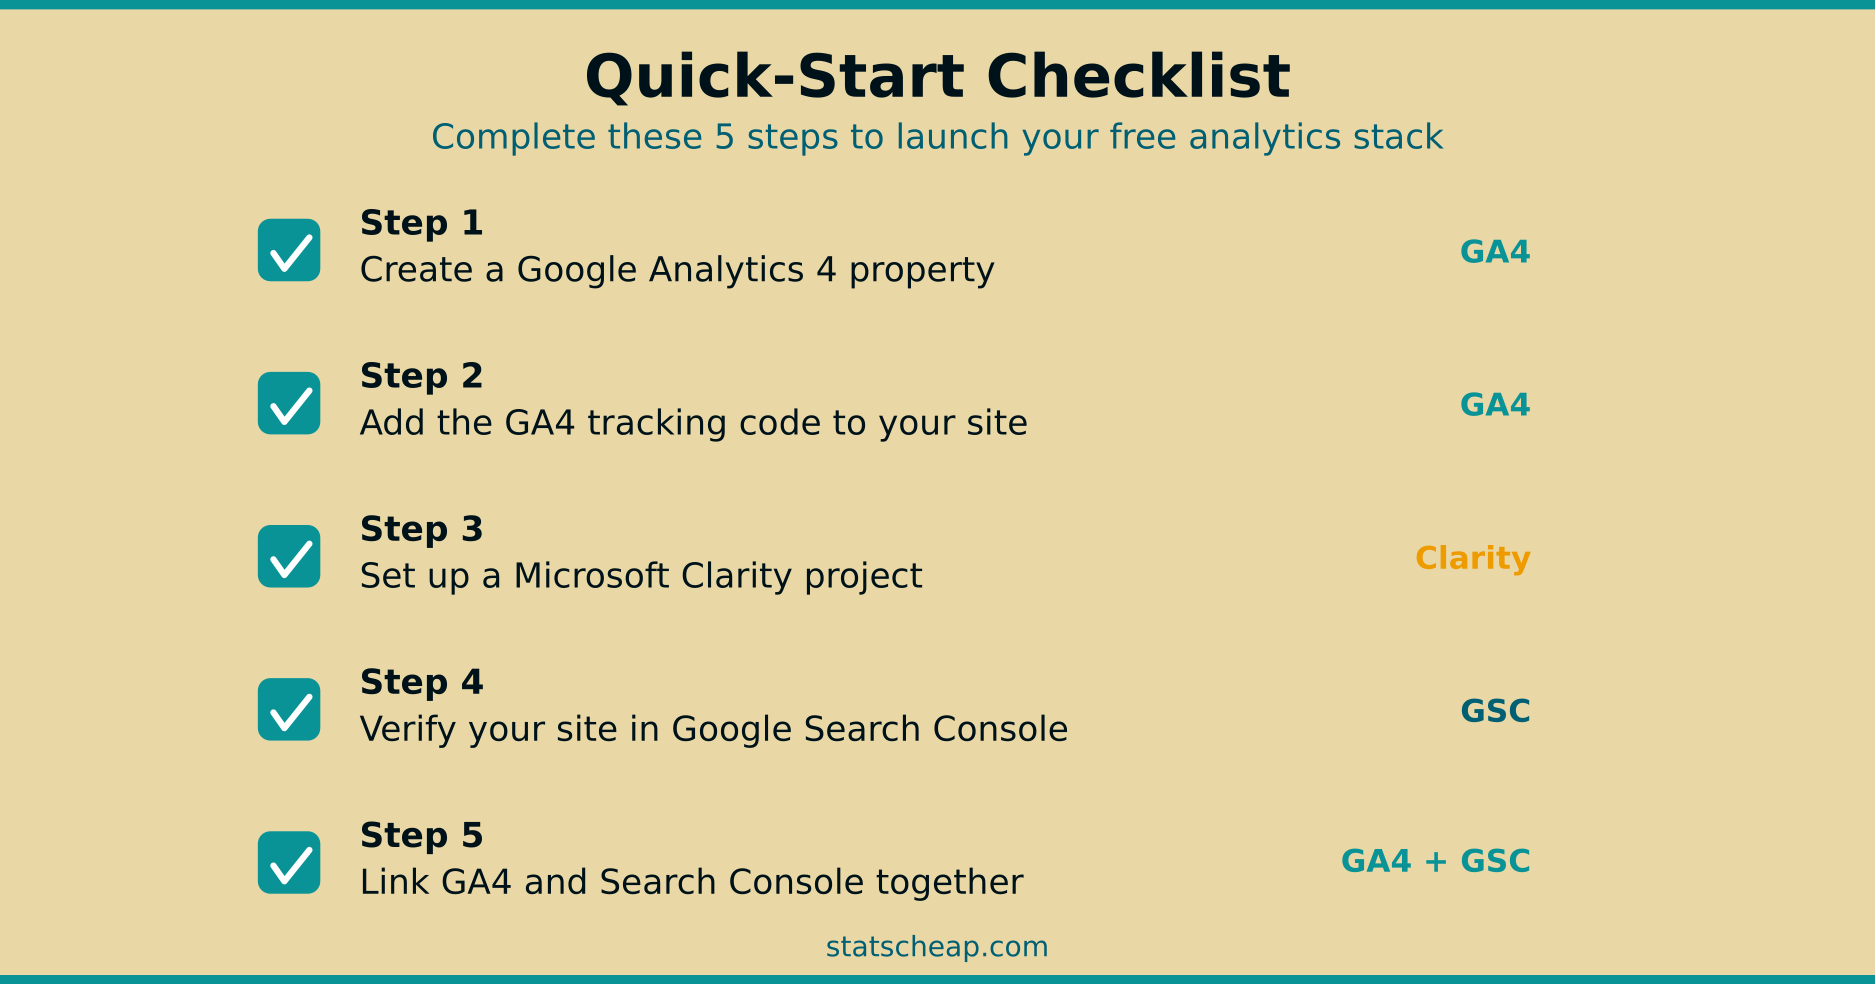
- 15 minutes to set up: GA4 takes 5 minutes, Clarity takes 3, Search Console takes 5. Plus a couple of minutes to link them together
- Replaces $166-377/month in paid tools: That’s $2,000-4,500 per year you keep in your pocket
- Link your tools together: Connect Clarity → GA4 and Search Console → GA4 for a unified analytics experience
- Start simple, grow later: This stack covers 90% of what small businesses need. Add specialized tools only when you outgrow the basics
Budget-friendly doesn’t mean second-rate. With 15 minutes and $0, you now have the same analytics capabilities that businesses pay hundreds for. Stop overthinking your toolset and start using the data to grow.